

How To Repair Broken Halloween Tombstones Styrofoam

Guide to unlocking the Revolver Culling upgrade.
Contents
- Revolver Alternative Upgrade
- Introduction
- Push "I" – Establish in Limbo ane-1
- Button "2" – Found in Limbo 1-ii
- Button "3" – Institute in Limbo 1-3
- Button "6" – Found in Limbo 1-4
Revolver Culling Upgrade
Introduction
You lot may have come beyond a rock tablet Button marked "Half-dozen" in your travels in 1-four with a pretty big door behind them.
That door leads to a special upgrade turning that peashooter in a boss killer.
The following guide will testify the Buttons for you to detect and actuate to become that upgrade.
Annotation: you lot but demand to activate the Buttons in one case for it to count (with the final Button near the door backside the exception).
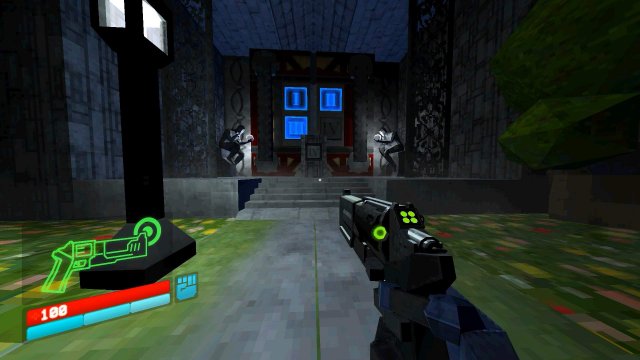
Push "I" – Constitute in Limbo 1-1
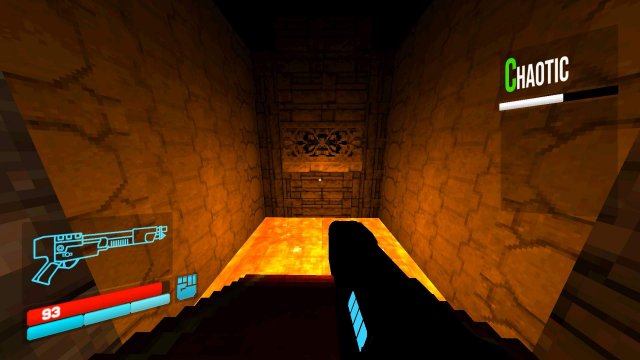
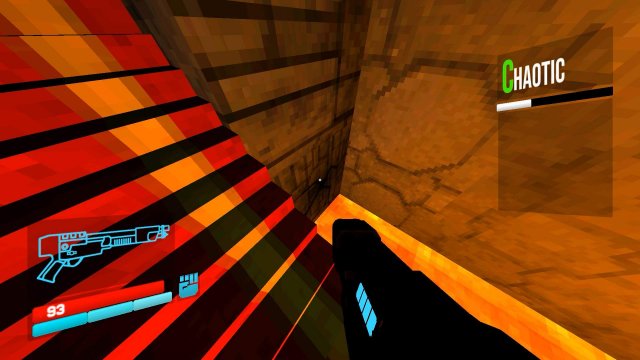
The first Push button tin be found subsequently in the map in the final room.
Defeat all enemies then destroy the skylight.
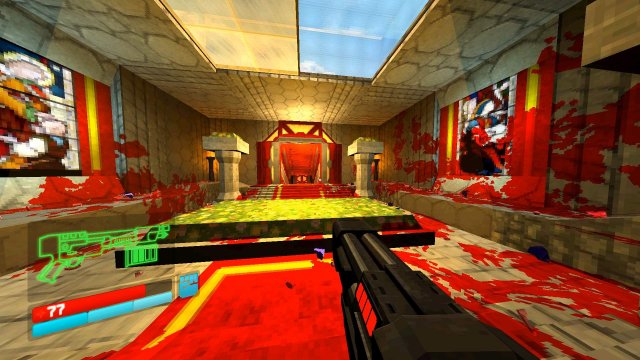
In this example, I recommend shotgun-jumping to give you enough momentum, then the Button is correct in front of you.
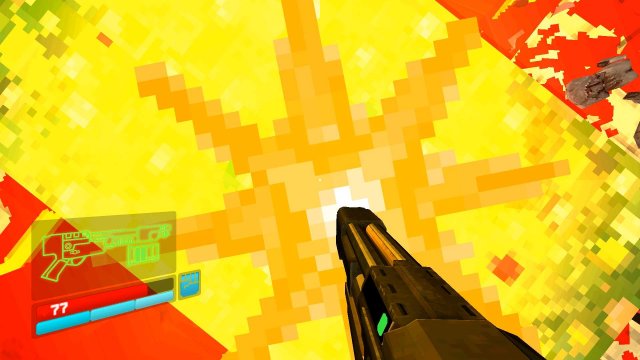
Diggings yourself upwardly in the air volition land y'all on the roof.
The Push is the only matter on the roof, so press it and y'all've gotten step one.
Push button "Two" – Constitute in Limbo 1-2
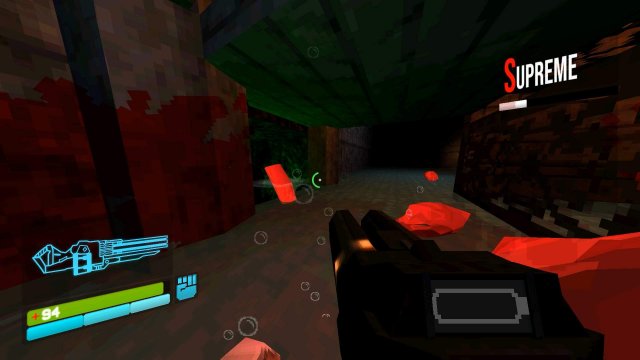
Process into the level and visit this room earlier the terminal battle room.
Turn right and come across a destructible wall.
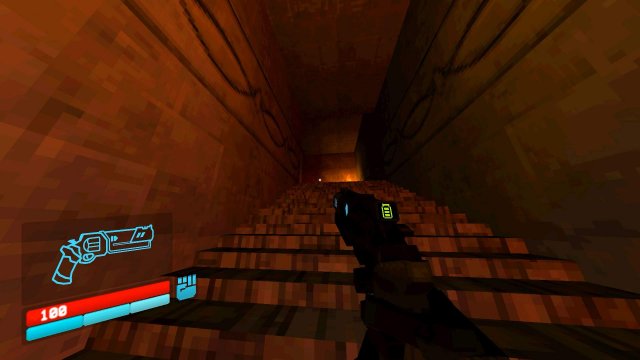
Break that and move on into and process forward, keep annotation of the room closed under the bridge.
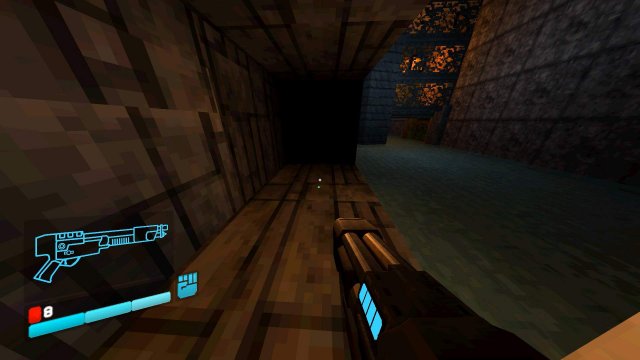
Movement forward and detect another destructible wall, take that down and move ahead.
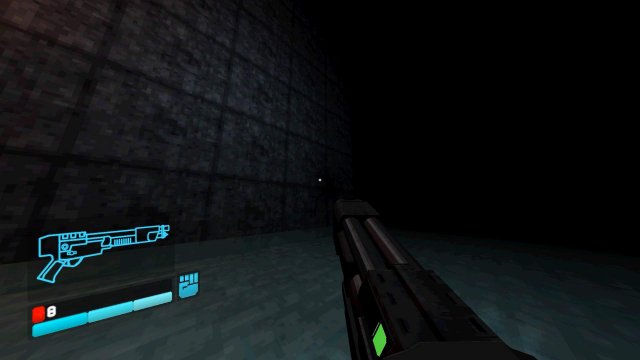
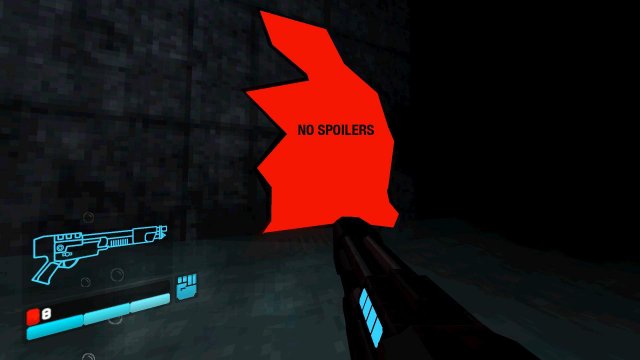
At present, I'm actually non spoiling this i for yous, continue into this department and enjoy the hugger-mugger!
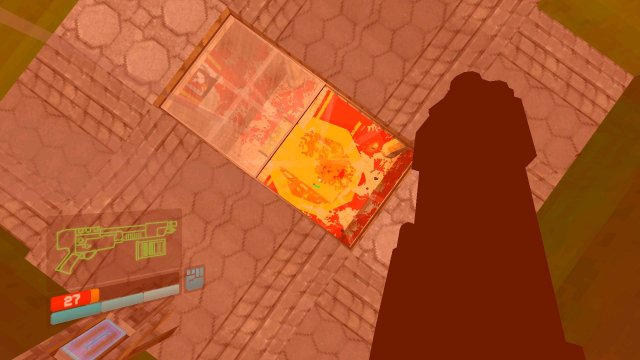
Later finding the undercover, come back out and visit the room that you remember under the bridge.
It's now open and so drop down.
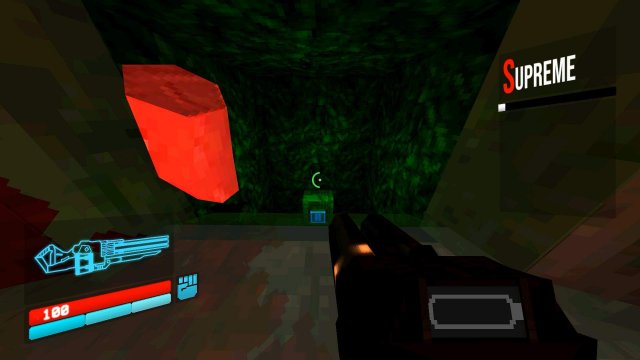
Smash that Button and you're one step closer to getting your paw on the upgrade!
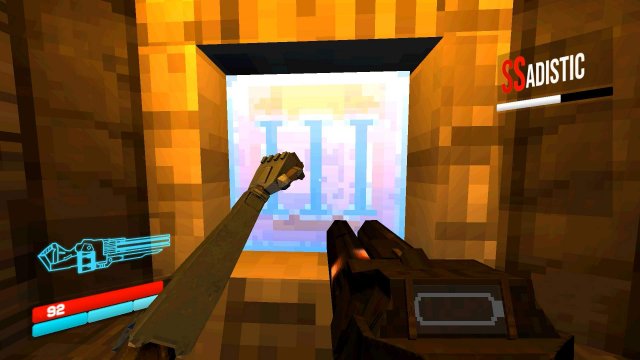
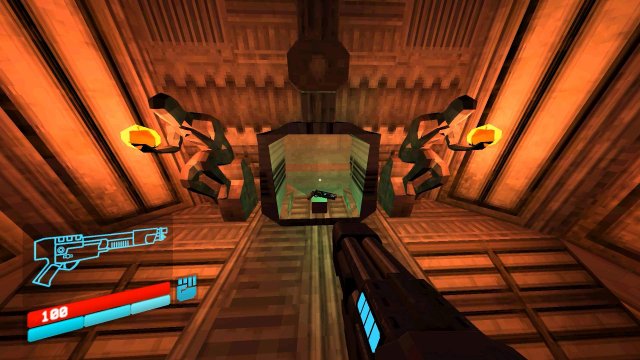
Button "3" – Found in Limbo ane-3
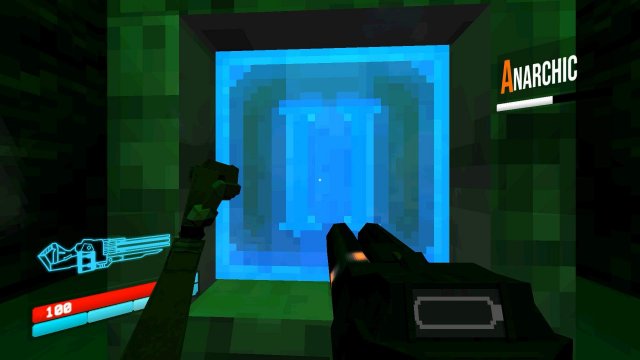
To get this Button, you must collect both Cerise and Blueish skulls and identify them on their respective pillars
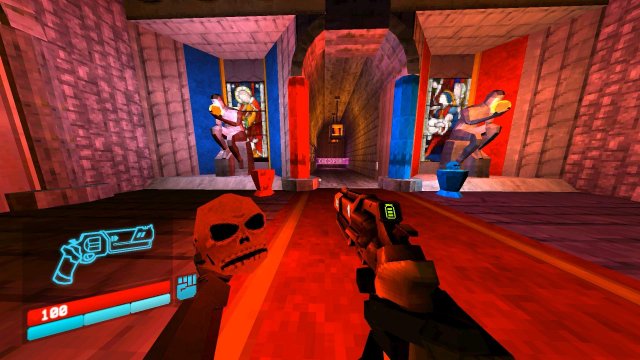
Turn around and you'll meet ane of the stained glass descending, caput over in that location and enter the room.
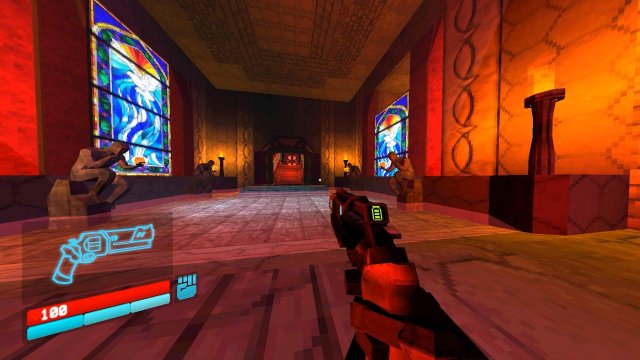
Head up stairs and enter the room in a higher place.
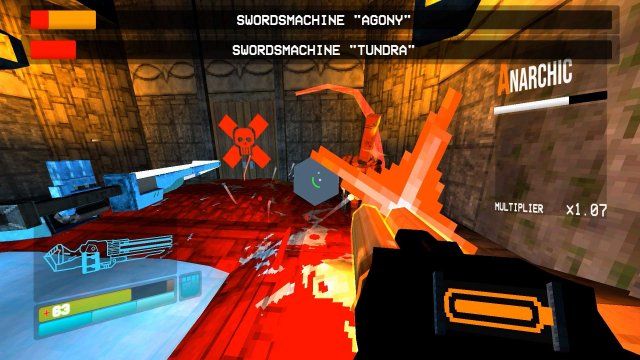
Become down the hallway and go ready for a fight!
You'll now need to face downwards two sword machines at the same time!
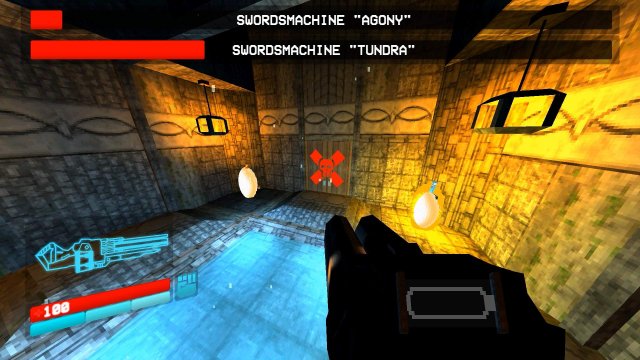
The goal is to reduce both swordmachines'due south health to the lowest at the same time. Take ane downwards and reduce the others to win, otherwise the downed swordmachine will regen wellness and proceed the battle with you.
Clutch it up and the door behind them will open, it'due south your honey Button!
Nail information technology like your favourite YouTuber's subscribe Push button!
Button "Six" – Found in Limbo i-4
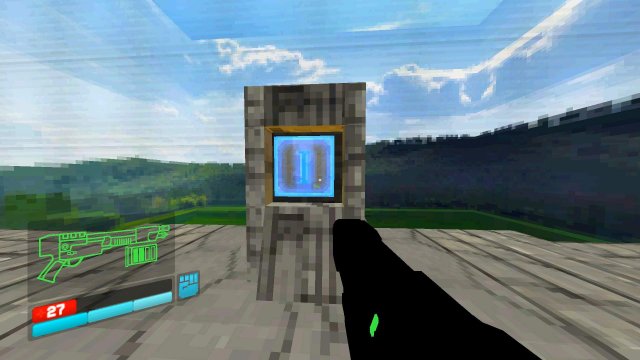
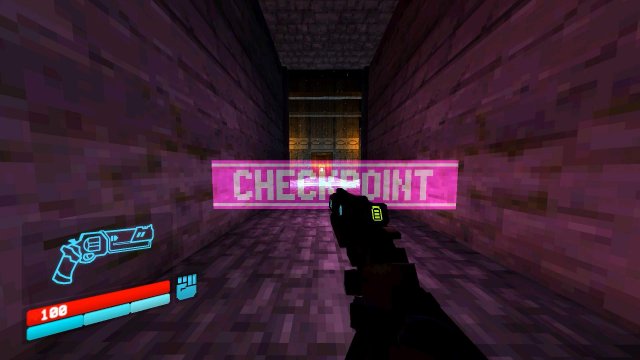
The concluding one is the easier ane!
Return to the room in the left of the castle.
Press that last Button and nail, you've done it!
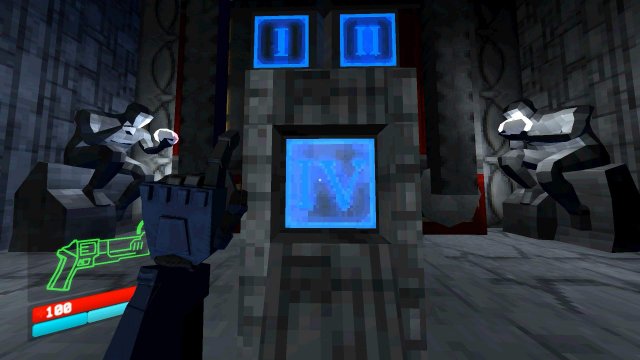
Jump to your prize in joy and claim it!
Bask a magnum version of your Revolver, you can at present switch at the shop to which version of the revolver you wish to have.
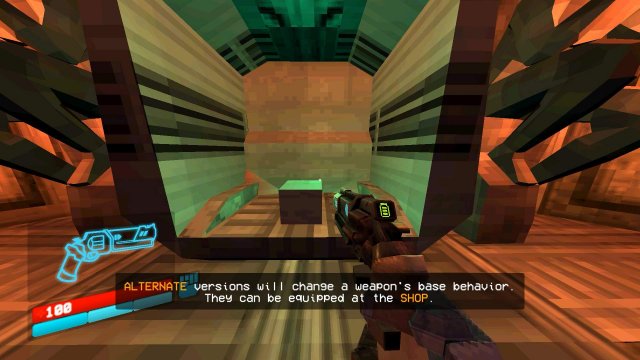
This alternative works on the base revolver and the coin flip version.
Recommended for You

Source: https://gameplay.tips/guides/8414-ultrakill.html
Posted by: hufffavered.blogspot.com
0 Response to "How To Repair Broken Halloween Tombstones Styrofoam"
Post a Comment