

Is There A Way To Repair A Shower Drain Without Damaging The Floor
Do you want to ready a leaking shower bleed without the fuss of taking out the pan? And then y'all've come to the right identify. You'll find the simplest instructions for this DIY job in this article!
Hither's how to set up a leaking shower drain without taking out the pan:
- Remove the drain cover
- Discard the compression gasket
- Remove the shower drain body
- Make clean the rim of the drain
- Install the new gasket
- Screw in the new shower drain body and seal information technology with putty
- Remove whatsoever excess putty from around the bleed
Fixing a leaking shower drain on your own doesn't have to be an expensive nor complicated job. Only if yous're completing this chore for the outset time, accept a look at what's coming upwards side by side.
Y'all'll see a more than in-depth explanation of the previously listed steps. They'll guide you to set up your leaking shower without calling a professional!
Fixing a Leaking Shower Bleed Without Taking Out the Pan
And then you lot've spotted a xanthous stain or mold running beyond the ceiling. And where is information technology? Slap bang under the shower unit upstairs. In that location'south only one thing it could be. A leaking shower drain.
Now I know what you're thinking. Anytime you hear the word "leak" mentioned at dwelling house you automatically get a bad feeling in your stomach. How much is it going to toll this time?
Just there's good news. Fixing a leaking shower drain doesn't have to be an expensive job. It'due south even possible to do it without taking out the shower pan. Yup, that means no ripping up the tiles and no redecorating costs.
Take a expect at the steps mentioned below that will ready y'all on the right path to fixing your leaking shower drain. To get you started, here's a list of all the tools yous'll need for the task:
- A #2 Phillips screwdriver
- A flathead screwdriver
- Groove pliers
- A hacksaw
- A rag
- A cleaning brush
- A new gasket (common at most hardware stores – brand sure you lot get the right size)
- Plumber's putty
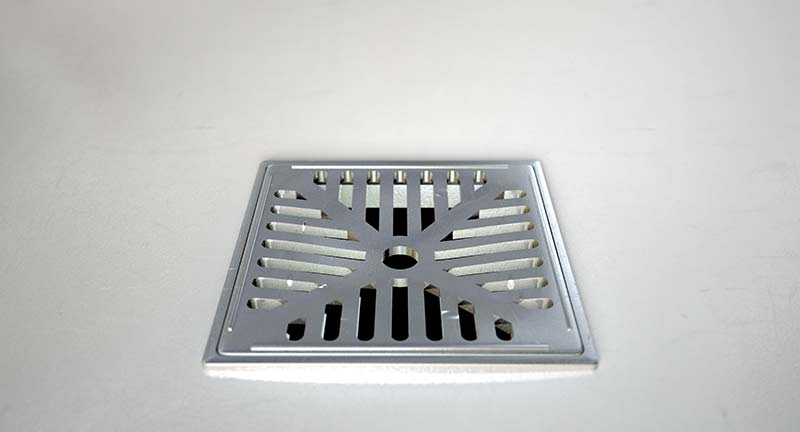
1. Remove the Drain Cover
To brainstorm, remove the metallic drain cover from the bleed. On some drains, you might be able to flip the cover off with a flathead screwdriver. On others, yous'll have to remove the screws. If this is the case, put the screws in a safe place then that you can put the cover back on later.
2. Discard the Compression Gasket
Use the pliers to remove and discard the compression gasket. Clip the pliers one on each side of the gasket. Turn information technology counterclockwise until it has come loose. And so pinch the gasket on one side with the pliers and pull information technology out of the drain.
Unthread and remove the big compression nut from the drain with the pliers.
3. Remove the Shower Drain Body
Here comes the fun office. Use the hacksaw to make two vertical cuts approximately i inch apart through the body of the drain. And so use the hacksaw to cut through the drain flange.
When cut the bleed flange, be careful not to cut into the shower pad! Yous should likewise brand sure that the bract doesn't become through the pipe riser!
Tease the one-inch piece out of the bleed using the flat head screwdriver. You'll and then exist able to squeeze and tease the remainder of the shower bleed torso out of the drain.
Remove any plumber's putty from the outside of the shower bleed body. You can employ the flat head screwdriver or but your easily to remove the putty.
iv. Clean the Rim of the Drain
Once you lot've removed the shower bleed body, you will have exposed the rim of the pan. Don't worry, fifty-fifty in the near spotless of showers, this rim will be filthy. Clean the rim thoroughly before continuing. You tin can apply a rag to make clean the rim.
Clean the opening of the drain with a cleaning brush. This will remove any debris that could cake the installation of the new gasket.
5. Install the New Gasket
Leap for joy as you're halfway in that location! Here comes the easy installation part.
Slide the new gasket into the opening. Information technology should sit on the center of the drain body's rim. Use your fingers to spread the outside of the stainer body with plumber's putty. Brand sure that there is plenty of putty under the rim of the strainer.
six. Screw-in the New Shower Drain Torso and Seal It With Putty
Screw the new shower drain trunk into the opening. Plow the new shower drain body clockwise until it has tightened into identify.
vii. Remove Whatsoever Excess Putty From Effectually the Drain
Use a putty pocketknife to wipe away whatever backlog putty from the drain. Y'all can tidy information technology up with a rag. Get out the shower unit to dry out overnight before using it.
The next day, return the drain cover to the drain.
Reward yourself with a night in on the sofa. Y'all'll enjoy peace of mind now you know your ceiling won't leak every time yous shower. Hurrah!
What Causes a Leaky Shower Drain?
A leaky shower drain creates bug in the bathroom. But it also opens upward a can of worms in other areas of the business firm. A leaky drain can:
- Dampen the ceiling and insulation
- Rot the ceiling beams
- Discolor the ceiling
- Become a breeding basis for mold and cause respiratory issues and allergies
Unfortunately, the longer these bug are left, the harder it becomes to set them. This can in time lead to bigger and more than expensive repairs. So you may exist wondering, what makes your shower drain first to leak in the get-go identify?
Take a expect at a couple of issues that cause shower drains to leak. Y'all will also meet some fixes beneath that will assist you to sort the problems.
| The Problem | How to Set up the Trouble |
| Leaking Traps – All sink and shower drains lead to traps. Over time these traps can begin to leak. There may even be a small-scale crack in the trap itself which would lead to a leak. | – Tighten the slip nut with your hands. Then give it an extra tighten once over with a pair of small pliers. – If tightening the slip nut doesn't piece of work, remove the trap. Supercede the rubber washers if they have gotten difficult or they accept deteriorated. – If the pipes have rusted, replace them. |
| Loose Strainers – Strainers in the drain can become loose over time. If they are not connected properly to the drain they could trigger a leak. | – Check the connections in the drain. If they are loose, tighten them. – If the strainers are cracked, supervene upon them. |
| Rusted Connections – Leaks are sometimes due to loose or rusted water supply connections. This could be the fault of bad installation or simple wear and tear. | – Check the water supply connections. If they are loose, tighten them. Some connections volition go on to leak even when they are tight. This is because they have adult pinhole leaks around the connections. Pinhole leaks could develop due to the age of the system. In this case, replace the connections. – If the connections are rusty, replace them. |
Aside from the shower drain, leaks can too commencement in other parts of the shower. Here are another areas that could first to leak:
- The solder connects of shower valves
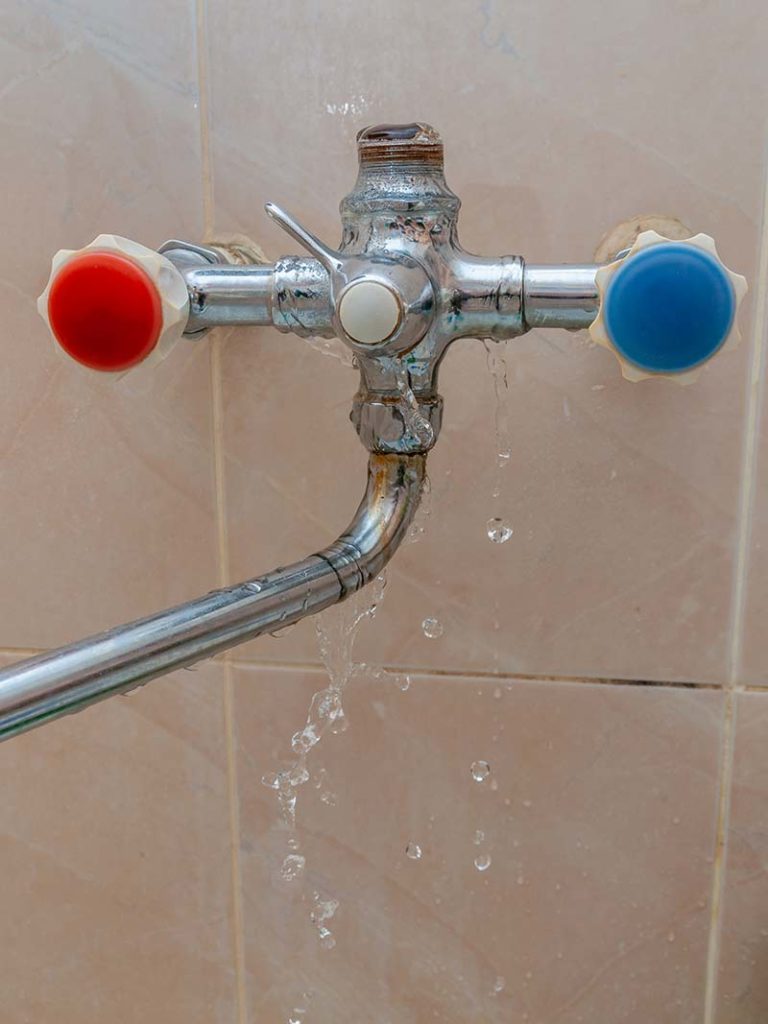
- The faucets
- The gaskets and springs around the inlet holes
- The cartridge or ball valves
Now that's probable got you wondering, how can yous fix a leak in these parts of the shower? Take a look at some of the quick fixes mentioned for these problems.
| The Location of the Problem | How to Gear up the Trouble |
| Solder Connects of Shower Valves | – Tighten the connections – Supercede connections that are old and rusty as these may take developed pinhole leaks |
| Faucets | – Replace the rubber gaskets in the faucet – Replace the washers in the faucet |
| Gaskets and Springs Effectually the Inlet Holes | – Replace the gaskets and springs – Supervene upon the washers in the valve |
| Cartridge or Ball Valves | – Inspect your cartridge or ball valve. If it is cracked, replace it. |
Conclusion
Finding a leak in the shower drain is a bit of a nightmare. The merely thing that's worse than the initial discovery is thinking about how much a professional person repair will toll. That'due south why this commodity has gone through all the steps yous need to fix your shower drain. I hope you take been able to fix yours without the hassle of removing the pan.
If this article has helped you, then why not check out some of our other articles and free guides? You could even sign up to our email list!
Take a great day!
-Craig

Source: https://applianceanalysts.com/fix-leaking-shower-drain/
Posted by: hufffavered.blogspot.com
0 Response to "Is There A Way To Repair A Shower Drain Without Damaging The Floor"
Post a Comment